Step 1. Downloading the Mission Planner Source Code
1. Git Installation: The first step is to download the Mission Planner source code. I will be using Git, a version control system, to download it. If you haven’t installed git on your system then first install it from https://git-scm.com/downloads.
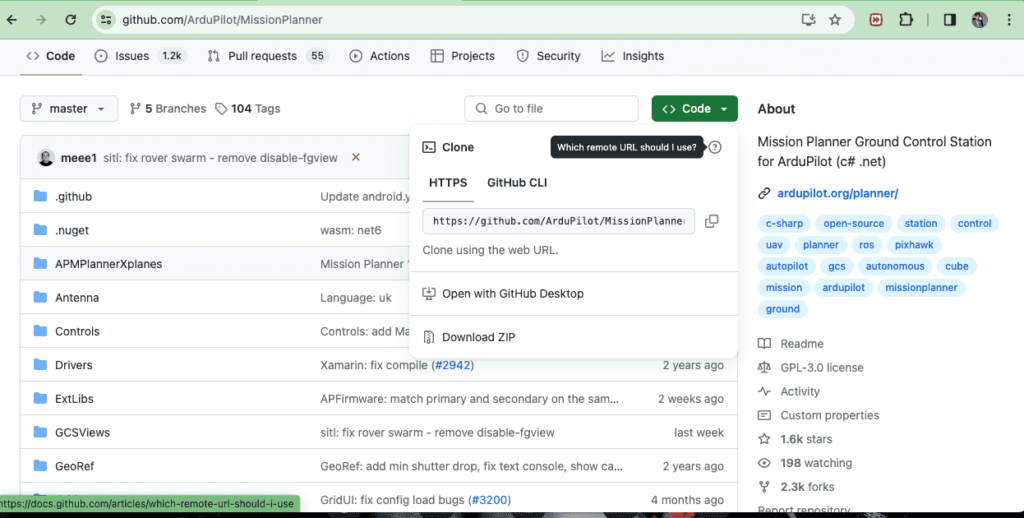
2. Copying repository url: Visit the legit Mission Planner repository on GitHub (https://github.Com/ArduPilot/MissionPlanner). Click on the “Code” button and copy the url https://github.com/ArduPilot/MissionPlanner.git.

3. Cloning the repository: Once you copied repository url, you may need to clone it for your local machine. Open a terminal or command prompt and use the git clone command observed by using the URL of your cloned repository
git clone https://github.com/ArduPilot/MissionPlanner.git.
It will download the source code of mission planner on your system. Now navigate to the downloaded directory and unzip the source code file.
NOTE (Don’t download source code in the directory whose path contain “&” or any “space” in the downloaded path for example it must not be like (D:/p&s/mission-planner/), other wise it will create error while building source code.
Step 2. Install Visual Studio
1. Download the Installer: Now it’s time to install Visual Studio, the development surroundings in which you’ll build and modify the Mission Planner code. Head over to the Visual Studio downloads web page (https://visualstudio.Microsoft.Com/downloads/) and pick out the Community version (it’s free and best for our functions). It will install visual studio installer through which you will install visual studio.
2.Installation: Run the downloaded installer and observe the on-screen instructions. During set up, make sure to select the option for “Desktop improvement with C#” underneath the “Workloads” segment. This guarantees you have the important equipment for running with Mission Planner, which is written in C#.
Step 3. Building Mission Planner
1. Opening the Solution: Once Visual Studio is installed, navigate to the folder in which you cloned your Mission Planner source code. Inside this folder, you may discover a file known as “MissionPlanner.Sln“. Right-click on this file and open it in Visual Studio.
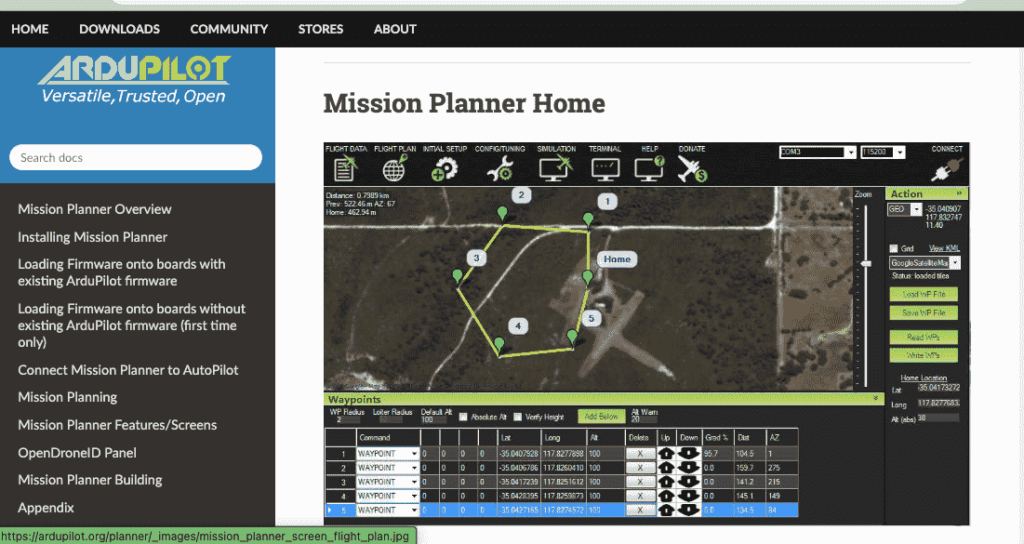
2. Mission Planner Build: After opening “MissionPlanner.Sln” in visual studio, it will load all the source code files in the Visual Studio. Once all files all successfully loaded, now it is time to construct it! Head over to the “Build” menu and select “Build Solution”. This will start compiling the code. wait for complete compilation of code. After successful compilation, it will open mission planner gui which shows your build is successful and now you can customize mission planner according to your requirements.

Additional Tips:
Before diving into modifications, spend some time familiarizing your self with the Mission Planner code shape. Understanding how exclusive elements of the code interact will make customization easy for you.The ArduPilot community boards (https://ardupilot.org/planner/docs/mission-planner-building.html) are a valuable aid for Mission Planner customization. If you get stuck or have questions, chances are a person else has faced the same hurdle and has a solution to percentage.Remember, customizing code can be complex. Start small, check your modifications very well, and don’t be afraid to invite for help if needed.
check out our article regarding most trending jobs in computer software field https://learninglabservices.com/how-to-build-mission-planner-source-code/

